Monday, 13 May 2013

Editing

After our production week, the next step is editing our photographs and putting together the layout of our editorial 6 page spread:

 For this image, the editing that needed doing is mostly to the thumbs of the model because they look odd and we need to retouch the loose strands of hair, retouch the structure and to colour correct the image, this is the final retouched image:


For this image, the editing that needed doing is to extend the background and the floor, retouch the floor, retouch the loose strands of hair and to colour correct the image, this is the final retouched image:


For this image, the editing that needs to be done is mainly to extend the background to get rid of the unsightly stands, polyboard, ceiling and pole in right hand corner. Also, to change the head of the model because we did not like the head position, to retouch the structure and the floor and to colour correct the image. This is the final retouched image:


The next images to edit, did not need a lot of work done to them:


For instance this image we wanted to blur, so all that needed to be done on this image was to apply a blur to it and colour correct the image, this is the final retouched image:


Also, for this image, we only needed to colour correct these images:


This is the final retouched image:


During the editing process I had said to the group to work non-destructively uisng masks, however I felt that I was being ignored and they continued to work destructively by affecting the actual pixels, I believe that this will be  brought up during the assessment of this project.


Images that were rejected from the final edit

Coat


These images for the coat rejected because we thought that the two first images we did not like the midriff being shown and we thought the third images as too much of a crop

Dress


These images were rejected from the final edit because of the focus on the face being too soft and we felt that the hair was too much.

Jumpsuit 


These images were rejected from the final edit because we felt that we preferred the body position in our 1st choice.

 Jacket


These images were rejected because we thought that our first choice image looked better  for blurring.

Fabric


From this series we rejected every other image except these for images because we thought that these worked the best.


Contact Sheets from Shoot Day

These are the Contact Sheets from our Shoot Day:


We decided to reject Shots 5 & 6 because we felt that the Shots with the hood the fabric looked too heavy on the model and the shots looked too religious and we felt that if we used the shots of the structure in the final edit it would too repetitive

Shoot Production Week

For our Shoot Production week, we will be constructing our set, photographing our set with our model on our Shoot Day and at the end of the week shall be breaking and cleaning the set:

The Process:

•We constructed an symmetrical abstract sculpture
•We made a frame first so that the sculpture would have something to be built around and to keep it up right.
•We then built the actual sculpture out of poly boards, making the whole sculpture 3D
•To get the concrete effect we used plaster as it was easy to manipulate it to make it look like concrete
•We then painted it a light grey to represent actual concrete.

At first we wanted a flat sculpture with no back to it:


But then it was suggested to have a 3D sculpture so that it would be easier to move around with the camera, have the model in different places and get more interesting angles with the shots


This is the floor plan for our set with the measurements:


These are the results of the shoot unedited:


In terms of Aperture the majority of the shoot was taken with a small aperture around F4 to F5.6 and in terms of shutter speed was no faster than about 1/125.


Risk Assessment, Budget and Call Sheet

This is the Risk Assessment for our group:


As we had kept changing our minds about the set, it was hard for me to keep up with the risk assessment and so we changed the colorama background to using a white wall, with a large white canvas attached to it and painted the floor grey instead of white which meant that we did not properly risk assess which is just not good enough.


Also this is the Budget for this project:


On this project we have a budget of £350. 45, and we overspent by £17.96


Also, this is the call sheet for the production week:


Sunday, 12 May 2013

Development of Styling

After the decision to change the idea for our Set, we made some more mood boards relating to this tailored high fashion modern look:


From these Mood boards we took some testing images of clothing that we could possibly used:


Moreover, Clothes that we liked when we looked online for clothing:


Finally, these are photographs of the clothes that we have agreed on to use in the shoot:


Development of Set

After a Tutorial with our tutor, it was suggested it would be a good idea to make our sculpture out of polystyrene insulation boards and to coat it in plaster to get this concrete look and texture:


Also, It was suggested that to build a frame out of timber to support the sculpture as a whole. From this our group has decided to make our sculpture out of polystyrene insulation boards and to coat it in plaster to get that concrete look and texture.


Test Shoot 2

This is a test shoot that we had done to test out possible different materials for constructing our abstract industrial sculpture with, in this test we photographed :

1. 12mm MDF Painted with Hammerite Metallic Paint:


2. Vinyl Aluminium Sheet:


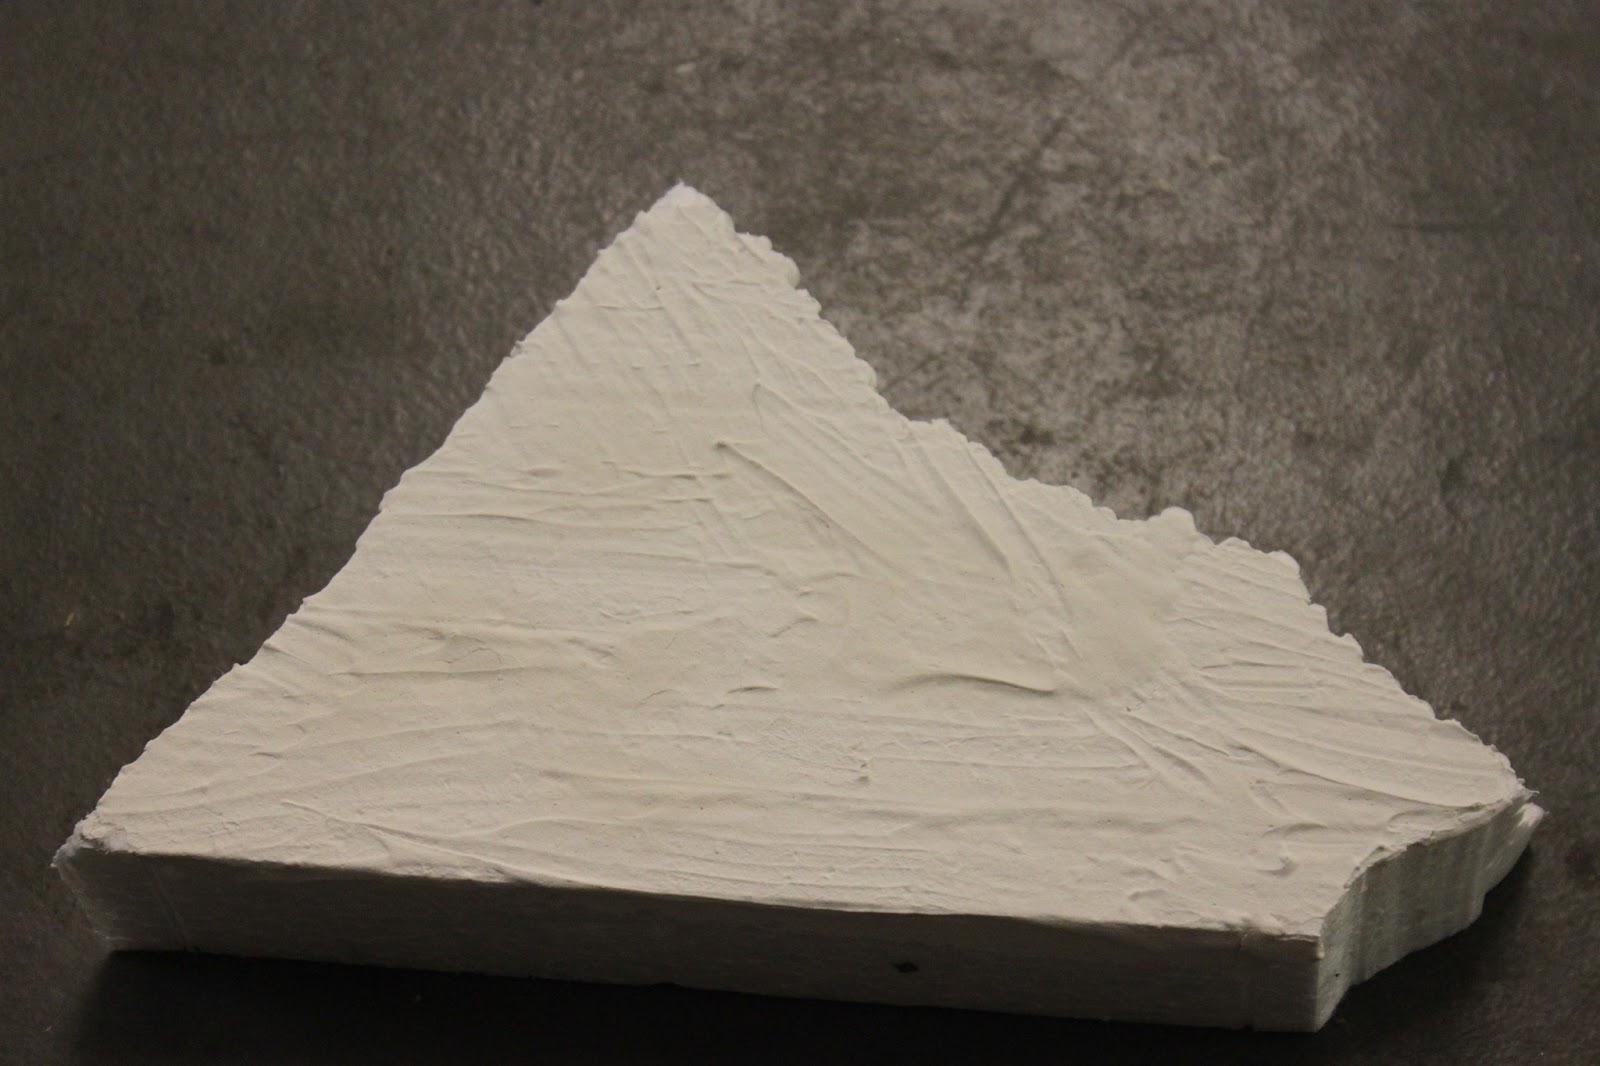
3. Polystyrene Insulation Board, coated with plaster: 


From looking at these test photographs, I feel that the 12mm mdf painted in hammerite metallic paint and the vinyl aluminium sheet are too reflective when under our proposed lighting. I prefer how the plaster on polystyrene because the polystyrene will be easier to move and I prefer the texture of the plaster to the mdf and the  vinyl sheet, so possibly the way to go forward would be to make the structure out of polystyrene 
insulation boards and to coat it in plaster to make it seem concrete like.